1. Identify the sample under review
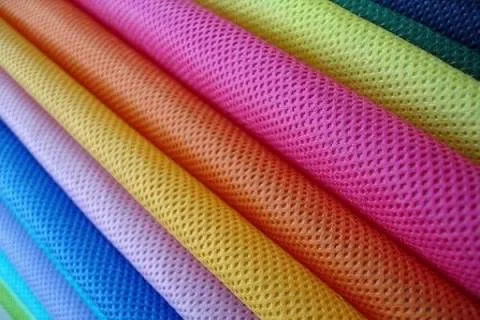
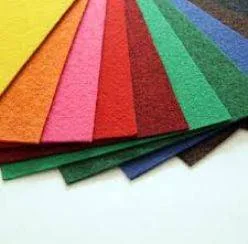
Record the sample code, source, receipt date and specification revision. Separate similar options immediately. Distinguish a colour reference, proposed material sample and approved finished sample: each can establish different things.
2. Check basic specifications
Review material name, agreed composition, width, basis weight and thickness where required. Agree measurement methods and tolerances before using results for acceptance. Functional requirements need suitable documentation and tests.
3. Compare appearance consistently
Use consistent lighting and note defects relevant to the finished product. Do not judge colour from photographs taken under different conditions. For printed or laminated material, inspect the actual use surface and joining areas.
4. Trial the actual process
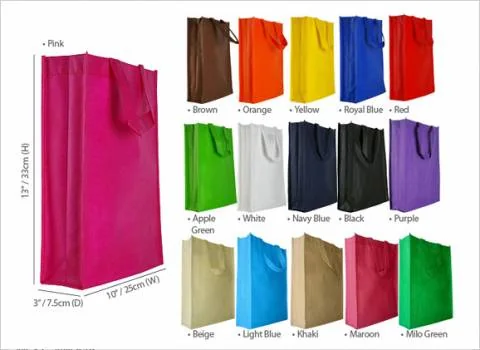
Use the proposed cutting, sewing, bonding or welding method at an appropriate scale. Record settings and results at critical points. For bags, include handles and joints; for linings, assess assembly. A good-looking sample may still convert poorly on the intended equipment.
5. Record the scope of approval
State what has been accepted, what remains pending and the conditions for ordering. Keep a retained sample with the agreed specification. Reassess affected properties when material, construction or design changes.
Check deliveries against the agreement
Review pack and batch identification, packing condition, quantity and agreed criteria. Document differences and discuss them before processing the entire shipment. Sampling plans and remedies need agreement; this guide is not a specialist inspection standard.
Frequently asked questions
Is photographic approval sufficient?
Photos help with layout and initial discussion. Important colour, thickness, surface and converting properties should be checked on physical samples.
Should I keep the sample after ordering?
Keep the approved sample and specification revision for receiving checks and repeat orders.